In my last blogpost, I showed a script I use to test en view an ARM Template deployment.
This time I want to use this script as a start to create a very basic CI/CD deployment in Azure DevOps.
Just want to use the script to test the deployment in a build? Go to my Github and download TestArmPSBuild.ps1
Update: I have written a sequel to this blogpost: Setup a build pipeline in Azure DevOps for ARM Templates Part II: using ARMHelper and YAML.
This post moves on to using YAML for your build pipeline and uses ARMHelper, a PowerShell Module based on the script in this post.
Update June 14th, 2020
Since this post was written, a lot of new options and features have become available. For this reason, I created a new post.
While the base of this post still applies, I recommend reading my new post which you can find HERE
What’s in this guide?
There are a lot of possibilities and what I do is just one way to do it. My goal here is to give you an example to get you started. The choices I make don’t always make use of all the possibilities, I mostly try to keep it as simple as possible.
At the end of this guide you will have a standardized repository, a build that validates your work and a release that deploys directly to Azure. The build will run automatically every time someone pushes a commit to the repository, the release will only run manually.
Prerequisites:
- You have Azure DevOps set up already. If you have not, find out how to here.
- You have the deployment files, azuredeploy.json and azuredeploy.parameters.json, ready. If you don’t have those, use these to create a basic storage account. (those are more or less the files I’m using.
Create a repository
You can use a GIT repository of your choice. For this example I use an Azure DevOps GIT repo.
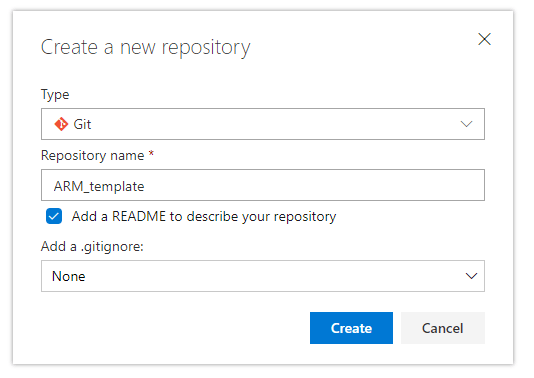
We will fill the repository with a few folders with files in them. I use the same structure for all repo’s with the same goal so the pipelines are easily recreated.
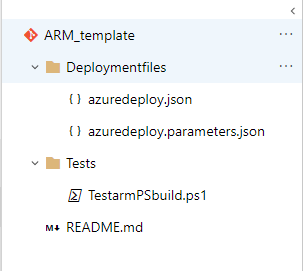
Deployment files
This folder contains azuredeploy.json and azuredeploy.parameters.json, the two basic ARM files. While those names aren’t very descriptive, it means you can create a general repository without needing to change the build-steps when you recreate it.
Tests
In this folder, copy and paste TestarmPSbuild.ps1, you can find it here: GitHub
If you want to use different scripts or tests for the build, this is a good folder to put them.
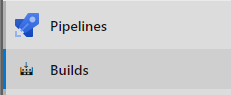
Setting up the build.
When your files are ready, Click Pipelines in the menu and select Builds.
Select a new pipeline or if you already have pipeline setup, select New > New Build pipeline

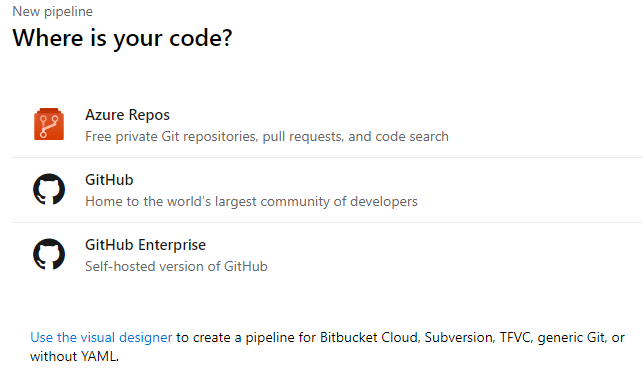
The next screen asks where your code exists. I you answer with Azure Repos, it will lead you to a screen where you can only create YAML pipelines. While YAML is a nice way to go, we agreed to keep it simple, so we want to use the visual designer. Another reason why I encourage to use the visual designer to get started, is because it helps to understand the structure of the pipeline. So click “Use the visual designer” at the bottom.
Select the repository where you have created your ARM templates.
A new page starts and you can choose a template. Most of the standard builds are usable for applications. To deploy Azure resources, only an empty pipeline is useful (at the time of writing). It’s all the way at the bottom, or at the top, called “Empty job” . Click it and select Apply.

The Name of the Build pipeline by default will be the name of the project. Change it to the name of the repository and add –CI
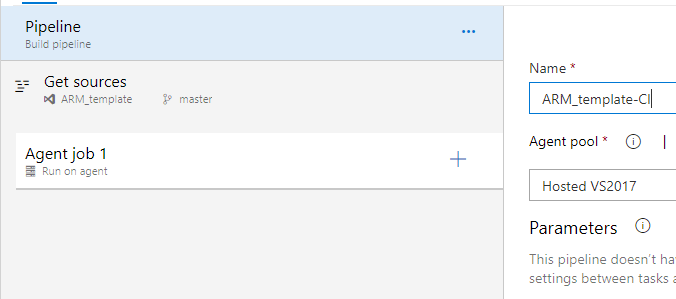
The Agent pool is a hosted VS2017 by default and this will work fine for our goal
The first step is Get sources. It gets auto-populated because we started the pipeline from the repository.
If you create a build on it’s own you need to tell it what source to use. The good news is that the source doesn’t have to live in Azure DevOps, which gives a lot of flexibility. For this guide we will not touch the sources.
Tasks in the Build
Let’s assign the first task to the Agent. Click the Plus-sign next to Agent Job 1
On the right you can select tasks. You can search for your preference and you have the possibility to add extensions from the marketplace.
ARM template validation
Choose Azure Resource Group Deployment (which you can find when you search for ARM ). Click Add.

This step can be used to deploy to Azure and you can set it up like that without any issues if you would like.
I only want to run checks and test within the build. The provided task has this possibility.
Disclaimer:
If I understand the documentation correctly, this task is more or less a Test-AzureRmResourceGroupDeployment. This means this task is obsolete next to the script in the next task. I still like to run it as I can configure this task exactly the same way I’m going to run the final deployment, So it’s an extra validation.
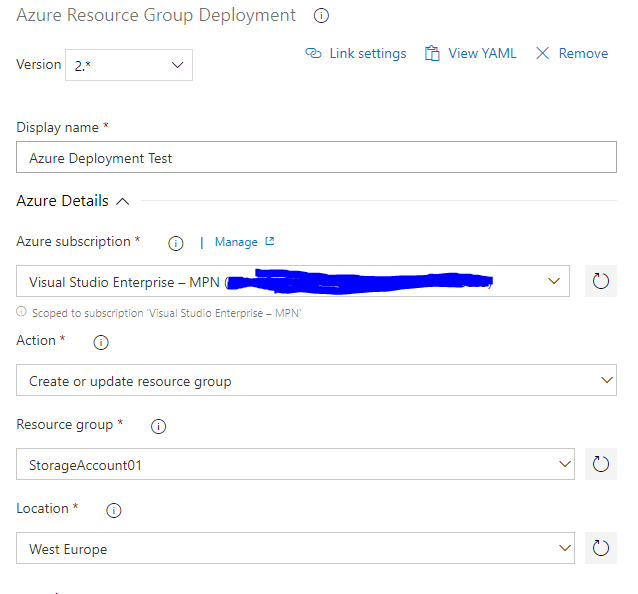
Display Name and Azure subscription
Give the deployment a descriptive name and connect it to you azure subscription. It might ask you to authenticate.
Action
Use de default action: Create or update resource group. (take a look at those other options though, this task has a lot of possibilities!)
Resource group and location
For the resource group you can use a dropdown to an existing resource group, or you can type one down. It will be created then. Set up a location to your preference.
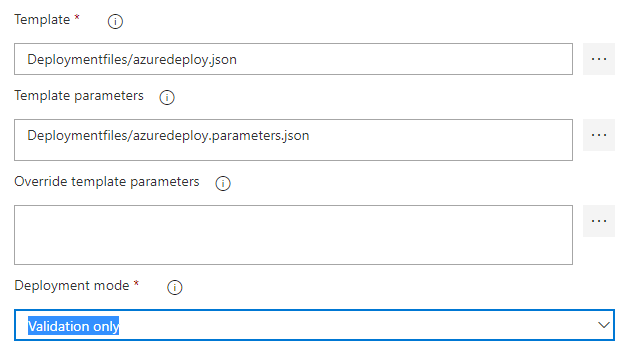
Template, Template Parameters, Deployment mode
Next to the Template-area, you can click the three dots to select your template in the repository. Do the same for the parameterfile. Set the Deployment mode to Validation only. This way nothing will be deployed, only tests will be run (it will create the resourcegroup if it doesn’t exist though).
You can now save this step and move on to the next step, but I want to dive into the “Override template parameters” setting real quickly, as it is very useful for passing passwords or other secrets.
Pass Secret strings
This deployment is for a storage account, so you don’t need secret strings. But if you deploy a VM for example, you will pass a password for a local admin account. Plain text passwords are bad.
It is possible (and cleaner) to get secrets from Azure Key Vault, but it needs additional setup. As promised, we’ll keep it simple.
Let’s pretend you want to pass a parameter that’s called “Password”.
In the Pipeline-screen, click on Variables.
Add a variable and click on the lock to create it as a secret.
 Move back to the build tasks, add this line to override template parameters:
-adminPassword “$(Password)”
The password will now be passed to the deployment without using plain text.
Get output
You can have an opinion about this script and it’s place in a pipeline. It does the test, but depends on a user manually reading an output, so it’s not automatic. I do like to put it in a pipeline as it makes it easier to perform a review and monitor what is getting deployed.
Click the plus sign at the agent job to add a new task. Choose Azure Powershell.
Displayname, Azure subscription, Scriptpath
Start with the display name and defining the right Azure subscription. At the scriptpath, use the three dots to select TestarmPSbuild.ps1
Scriptarguments
-ResourceGroup “StorageAccount01” -TemplatePath “$(Build.SourcesDirectory)\Deploymentfiles\azuredeploy.json” -ParametersPath “$(Build.SourcesDirectory)\Deploymentfiles\azuredeploy.parameters.json”
The ResourceGroup doesn’t have to be the same as the one in the first step, but it is the nicest way of course. If you define a new one, it must exist.
With the variable Build.SourcesDirectory, the right path will be selected on the agent to find the files.
Specify the task to use the latest installed Powershell version
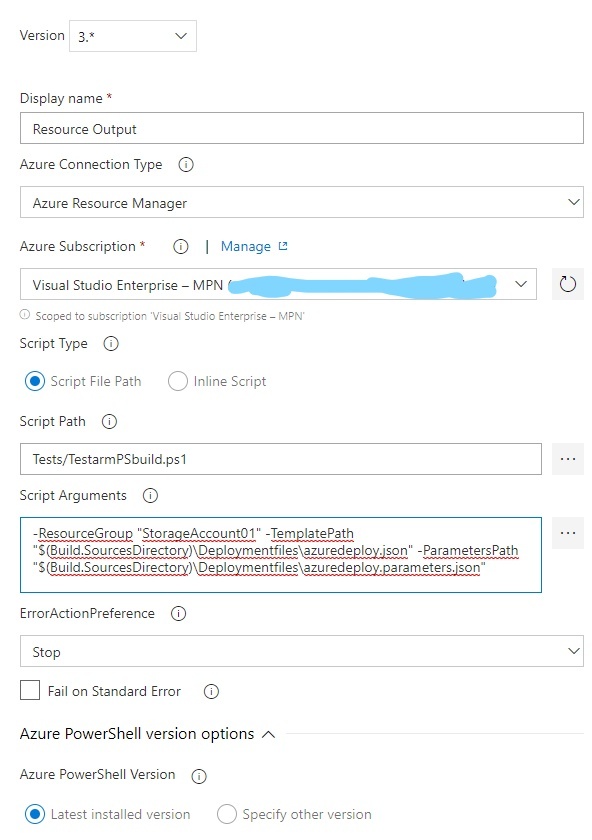
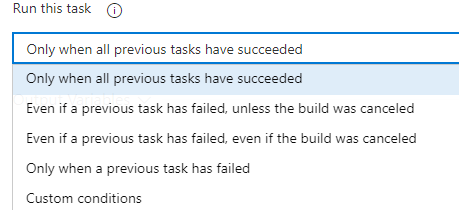
We want this task to run, even when the tasks before it fails. This is because this output can give more information about the step before it. So open control options and select to run it even if a previous tasks has failed, unless the build was canceled.
Publish artifacts
We want to use a Release pipeline for the deployment, as we want to assure the deployment itself only runs manually. To give it access to the files, they need to be available.
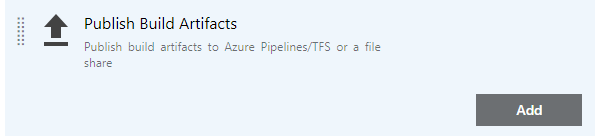
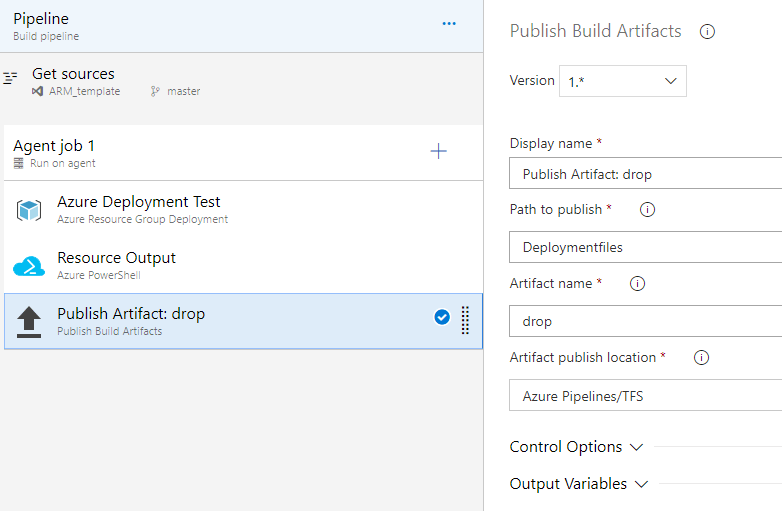
Add the step Publish Build Artifact to achieve this.
Change path to publish, to only make the deployment files available. Click the three dots and select the folder Deploymentfiles.
Now the Build-tasks are done.
Enable CI
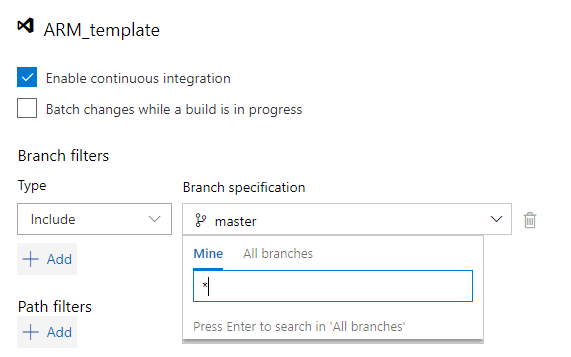
Continuous integration isn’t enabled by default. When enabled, the build will run after each commit to the repository. Click triggers and tick “enable continuous integration” to enable.
When enabled, it will only run when master is being pushed. We’ll enable it on branches as well, so this process can be part of reviews. To do this, click on master underneath branch specification, type * and press enter.
That’s it. You can now use Save & queue to run the build immediately or just save, which will make the build available for new commits.
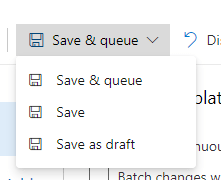
At the next screen, add a comment if needed and press Save & queue again.
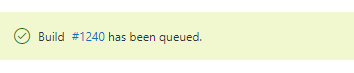
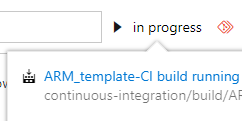
At the top of the screen you will find a link to the current build, where you can follow it’s progress
Great success
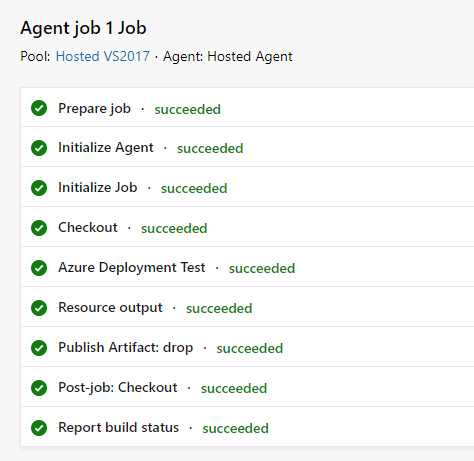
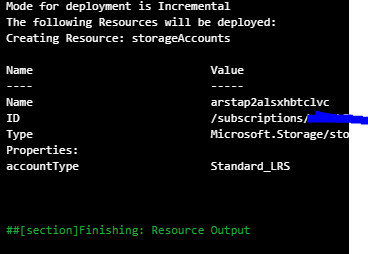
You can now click on “resource output” and find what resources would be deployed
To simulate a failed pipeline, I added a space to the StorageAccountName and queued again.
When the file is committed, the status appears in the repository’s screen.
When it is done, it shows the error:

(The output here is a bit much, still working on that)
When you click the resource output, it will show you the issue as it would when it is ran locally.

Release
After the build, it’s time to set up the release to deploy directly to Azure.
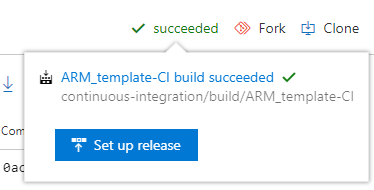
Go to your repository and click succeeded in the top right. When you do, a button will become available saying “set up release”
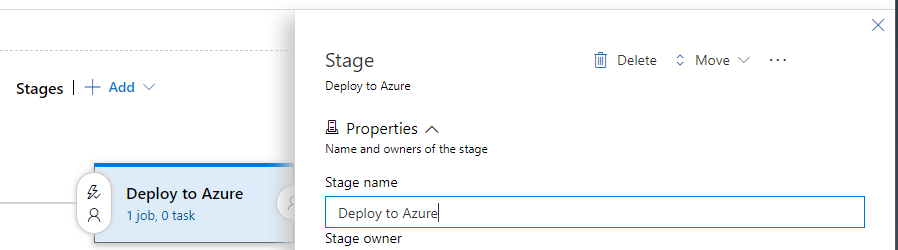
Click the button and a new window will pop up. You can select a template, similar to the build-steps. Again, choose empty job. Change the StageName to “deploy to Azure” and close the stage-Window with the x in the top right corner.
Click on the Name of the release pipeline at the top of the screen to make it more descriptive. For example the name of the repository, followed by -CD
So this is what you should see now:
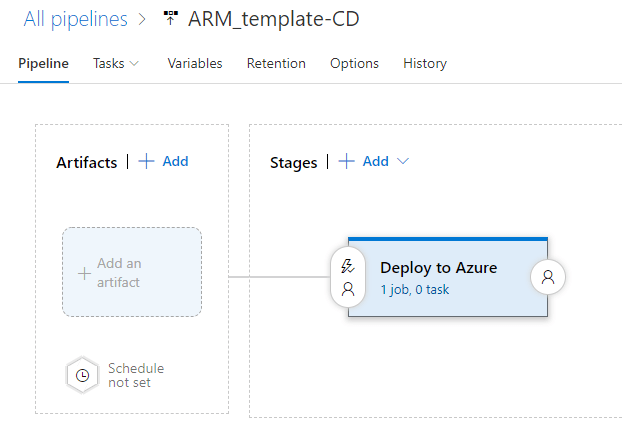
Artifact
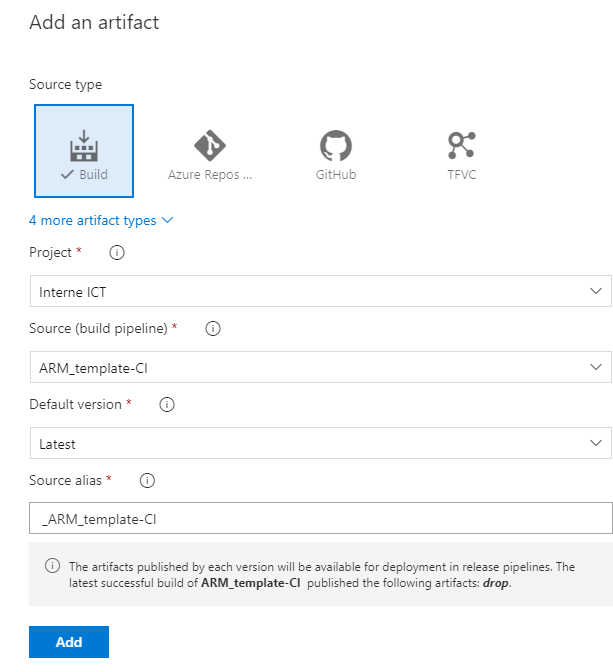
Click add an artifact. The screen will default to a Build as a Source type. In the drop-down, select the build we have just set up. Specify for the release to use the latest build. Keep the other settings as they are.
The little lightning strikes will allow you to set the trigger for the different steps. Leave them as they are for this deployment, as we only want a manual trigger.
Tasks
Now click “1 job, 0 tasks” at the deploy to azure-stage. Here you can add steps like you did for the Build. Create a new Azure Resource Group Deployment-task
At this step, you can repeat the settings for the subscription and resourcegroup that you used in the Build.
When you set up the Template and parameters though, you need to change these to the files that were created by the build. For this, you can again use the three dots to navigate to them.
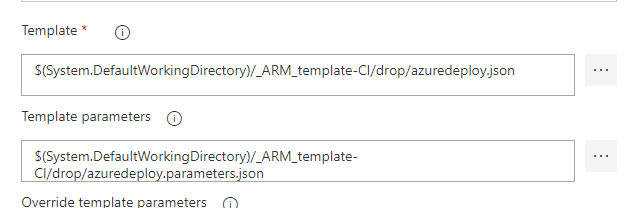
If you have used variables to populate template parameters, you can add them the same way you did in the build. (This is also the reason why it is better to set up a keyvault-connection, as you have the variables in two places now)
The most important difference here is the deployment mode. Here you set it to incremental or complete.
Which you choose depends on your needs. I leave it to incremental as I don’t want to override excising resources. In my opinion Complete would be the best option, but it isn’t fitting for my usecase.
Click save and our release is done.
Trigger the Release
If you open the last build that you ran (through the builds menu), on the top right you will see a button “release”
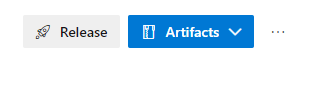
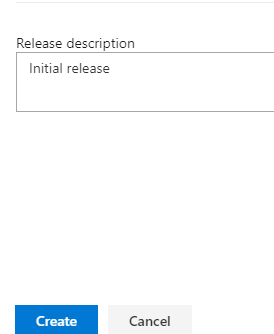
You get a lot of options in the next menu that will be very useful when you create more complicated releases. For now you can just click “create”
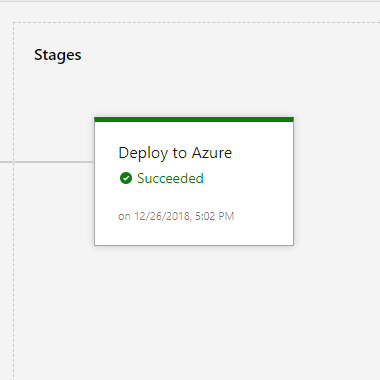
At the top of the screen, you will find a link to your release so you can monitor it’s progress

And success!
Let’s check out the Azure Portal.
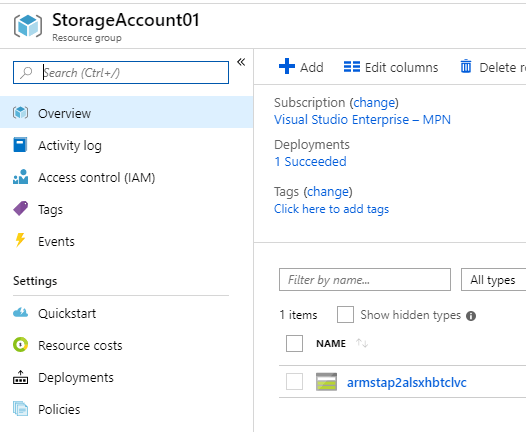
There we go!
So that’s it, you now have a successful pipeline straight to Azure. Everything is logged and no need to work with plaintext credentials.
This guide is an invitation for you to explore Azure DevOps pipelines even further, as it is a very useful tool and a lot of fun to work with.


Pingback:Script: Test ARM Templates and show the resources that will be deployed – 4bes.nl
Pingback:setup a build pipeline in Azure DevOps for ARM Templates Part II: using ARMHelper and YAML - 4bes.nl
Pingback:Use Azure DevOps YAML Multi-stage pipelines for ARM Template deployment - 4bes.nl
Hi, I am trying to follow your articles about CI/CD and decided to start with testing your script “TestArmPSBuild.ps1”. I am sorry to say that it does not work as “Test-AzureRmResourceGroupDeployment” generates an error Test-AzureRmResourceGroupDeployment’ is not recognized as a name of a cmdlet”. After googling it seems that we need to switch to AZ as AzureRM is not valid anymore. 2nd, As I am new to this ARM stuff, Can you please share the ARM template to use with the script in order to play and test with. Thanks
Hi Salam,
Yes, this post is a bit outdated I’m afraid. AzureRM is still valid for now, but you do need to install it separately (which I do not recommend, it is better to move on to Az).
As is mentioned in the post, I have written an new version for this post that is more up to date. You can find it here: https://4bes.nl/2020/06/14/step-by-step-setup-a-cicd-pipeline-in-azure-devops-for-arm-templates/ . The ARM templates I use are in there as well. Hope this helps you!